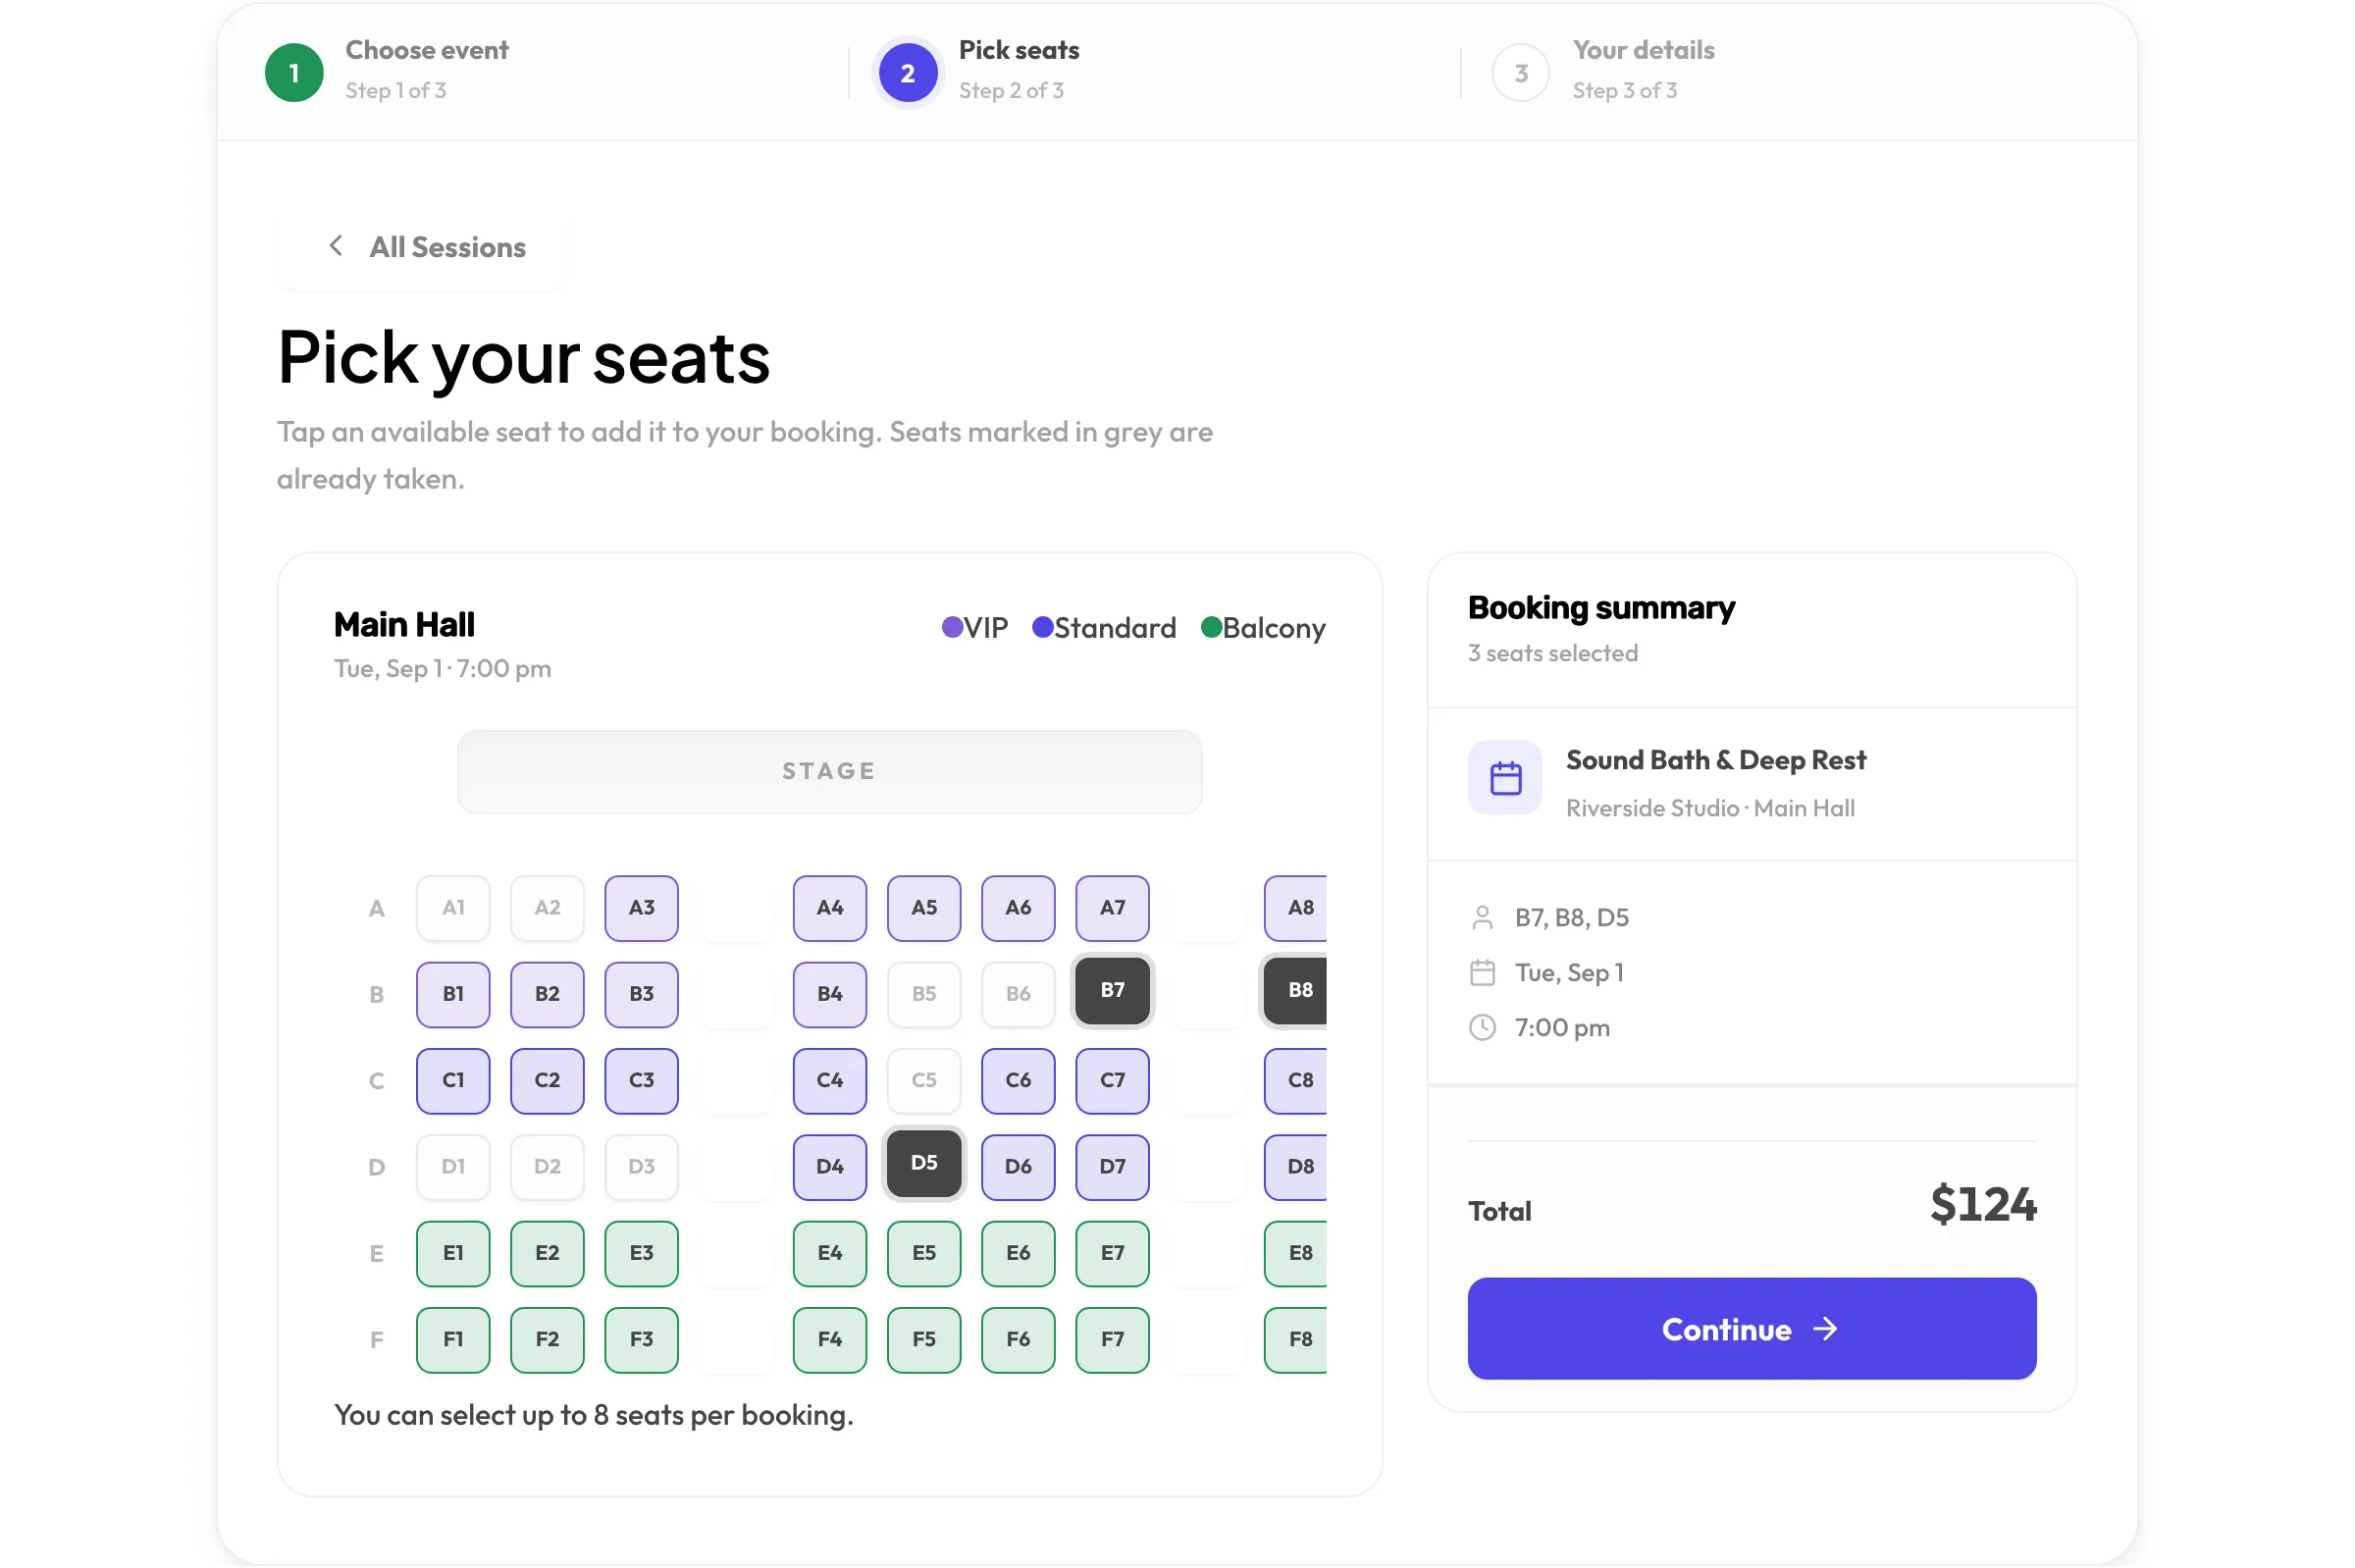
Take your first booking in ten minutes
A practical walkthrough from a fresh install to a confirmed test appointment, with the decisions worth getting right on day one.
Booking software has a reputation for long setup. Schedopia’s setup is short because it asks for only what the form needs: something to book, someone to book it with, and a page to put the form on. Here is the fastest sensible route, with a few notes on the choices that matter.
Minute 0 to 2: install and choose a mode
Install Schedopia from Plugins → Add New and activate it. The wizard asks whether you take appointments, sell seats, or both. If you are not sure, choose appointments; you can turn events on later in Settings.
Minute 2 to 5: one category, one service, one person
Create a category (even if you only have one), then a service with a duration and a price. Then add a staff member, set their weekly hours, and assign the service to them.
Two things are worth deciding now rather than later:
- Duration is calendar time, not customer time. If a 45-minute treatment really needs an hour of the room, set 45 minutes and add a 15-minute buffer. Customers see 45; your calendar blocks 60.
- Prices are shown up front. Every service card on the form shows its price. If you would rather quote on the day, that is fine, but the field is there for a reason: people book more readily when they know what it costs.
Minute 5 to 7: put the form on a page
Create a page and add the [schedopia_booking] shortcode with the Shortcode block or Elementor’s Shortcode widget. Publish it. One form per page is the rule, so if you later add events, give them their own page.
Minute 7 to 9: make a booking as a customer
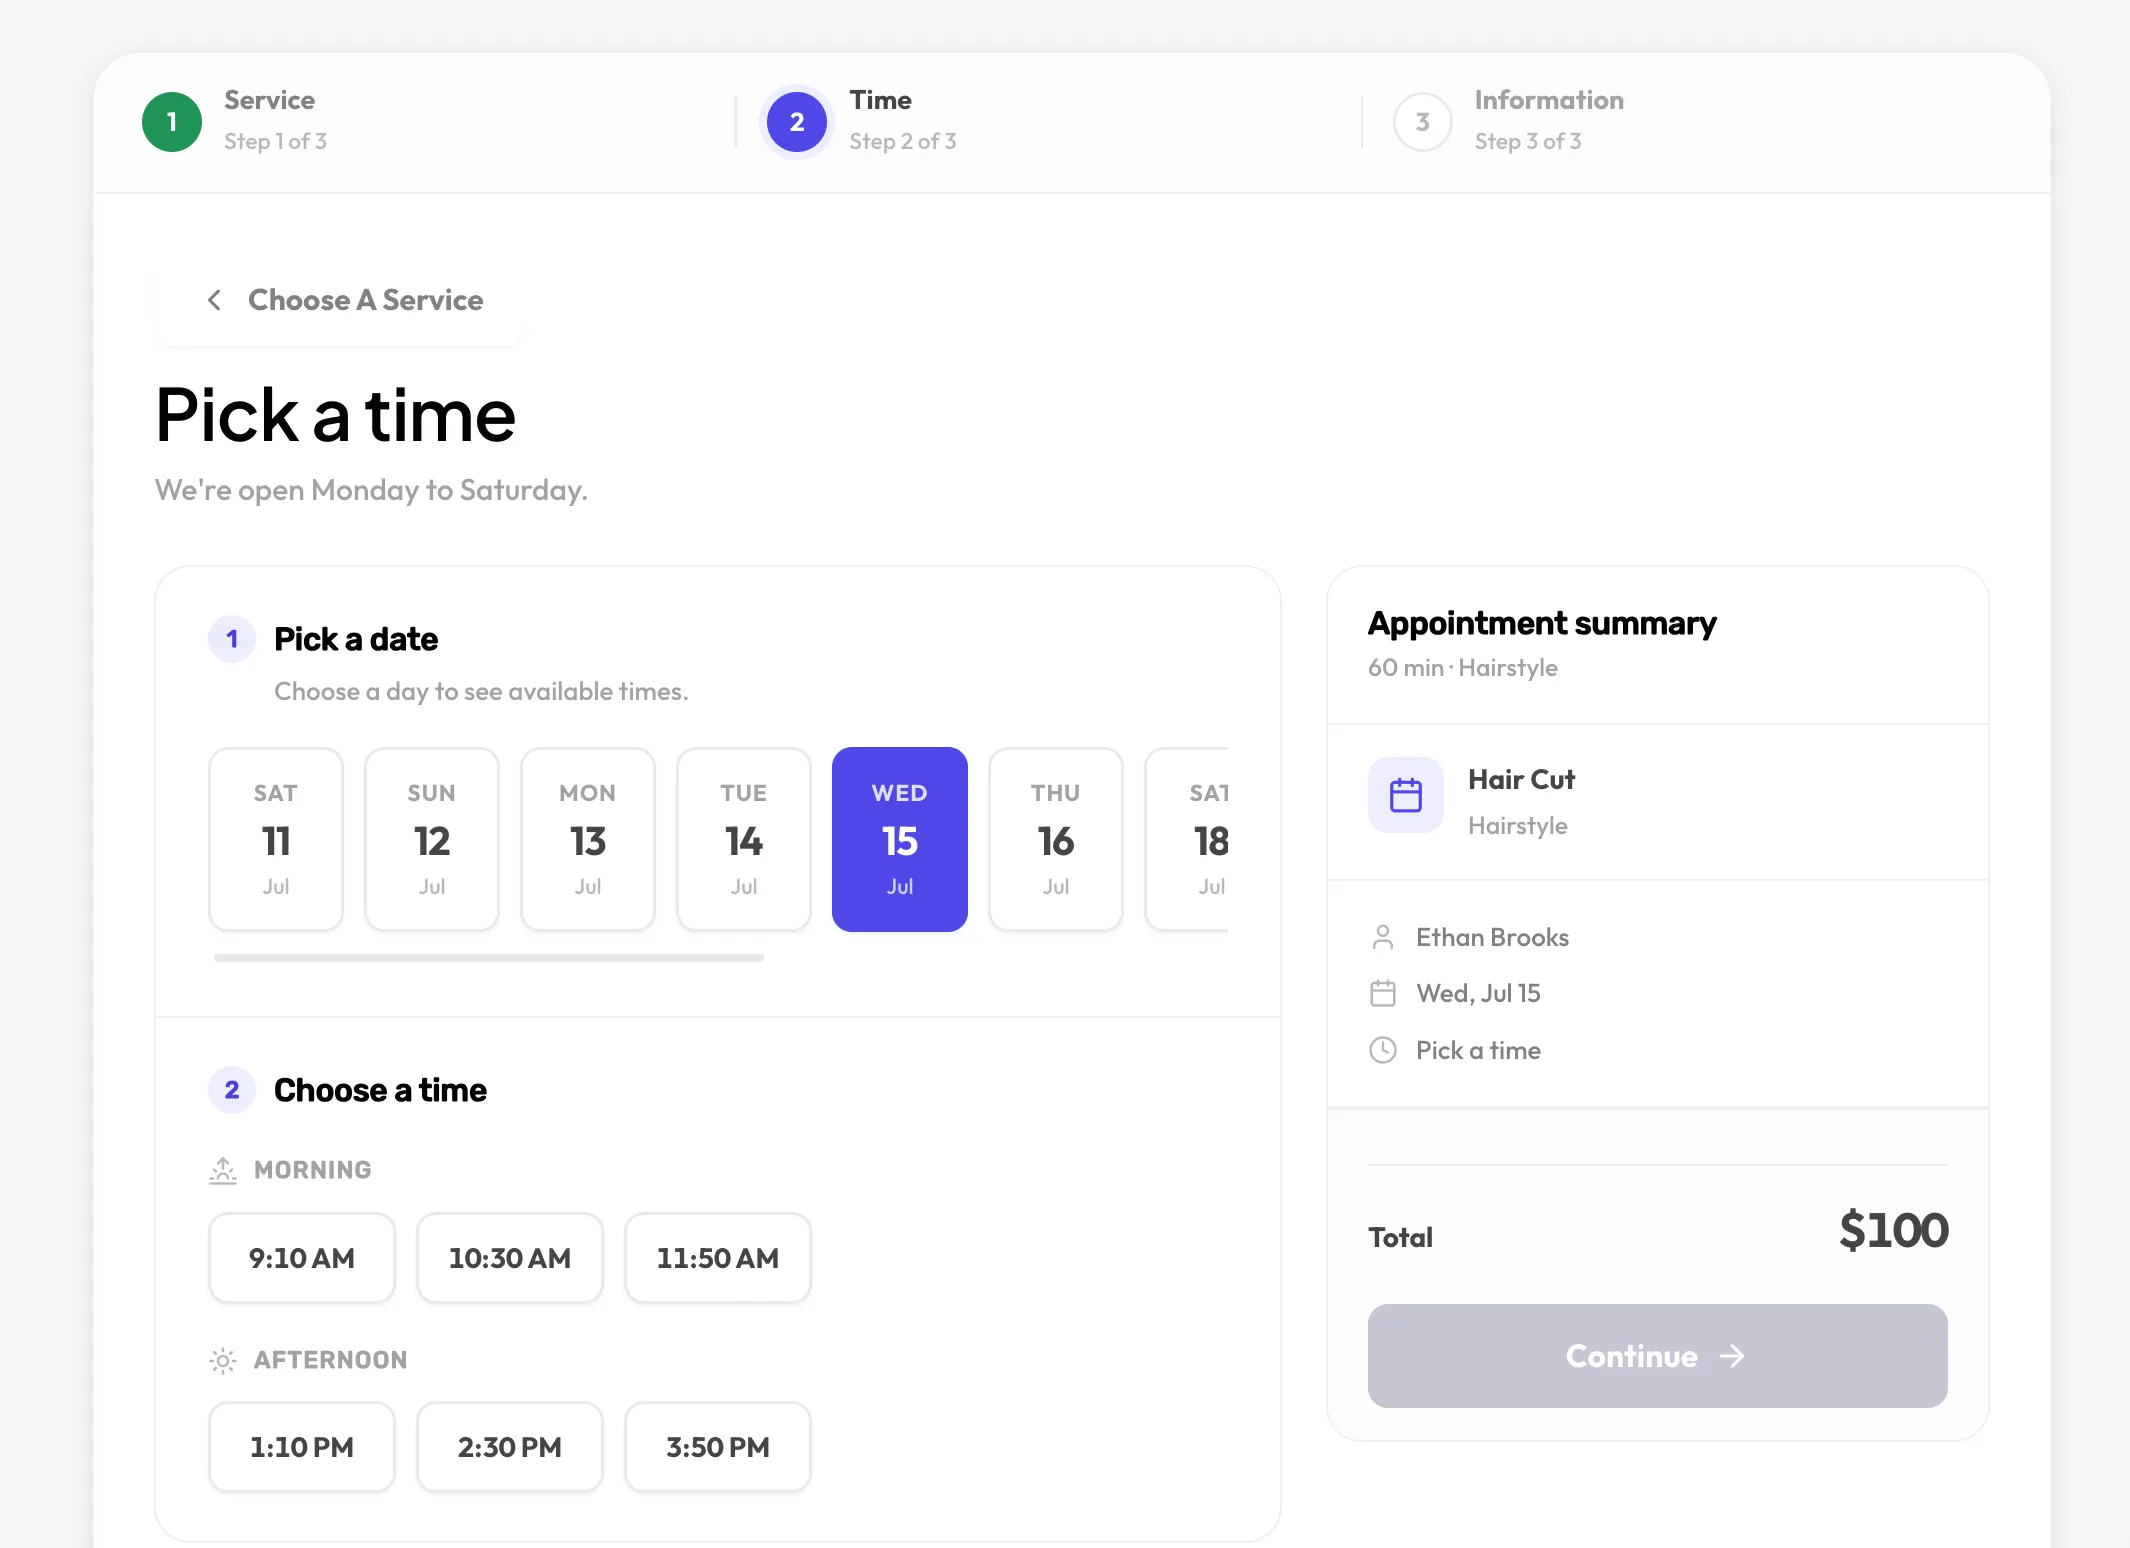
Open the page in a private window. Choose the service, pick a day and a slot, enter a name and an email you can check, and confirm. Notice what the form did not ask for: no account, no password, no card. Pay on arrival keeps the last step to a name, an email and a button.
Check the inbox. The confirmation email includes add-to-calendar buttons for Google, Outlook and Apple, and a cancel link that works without logging in.
Minute 9 to 10: look at the admin
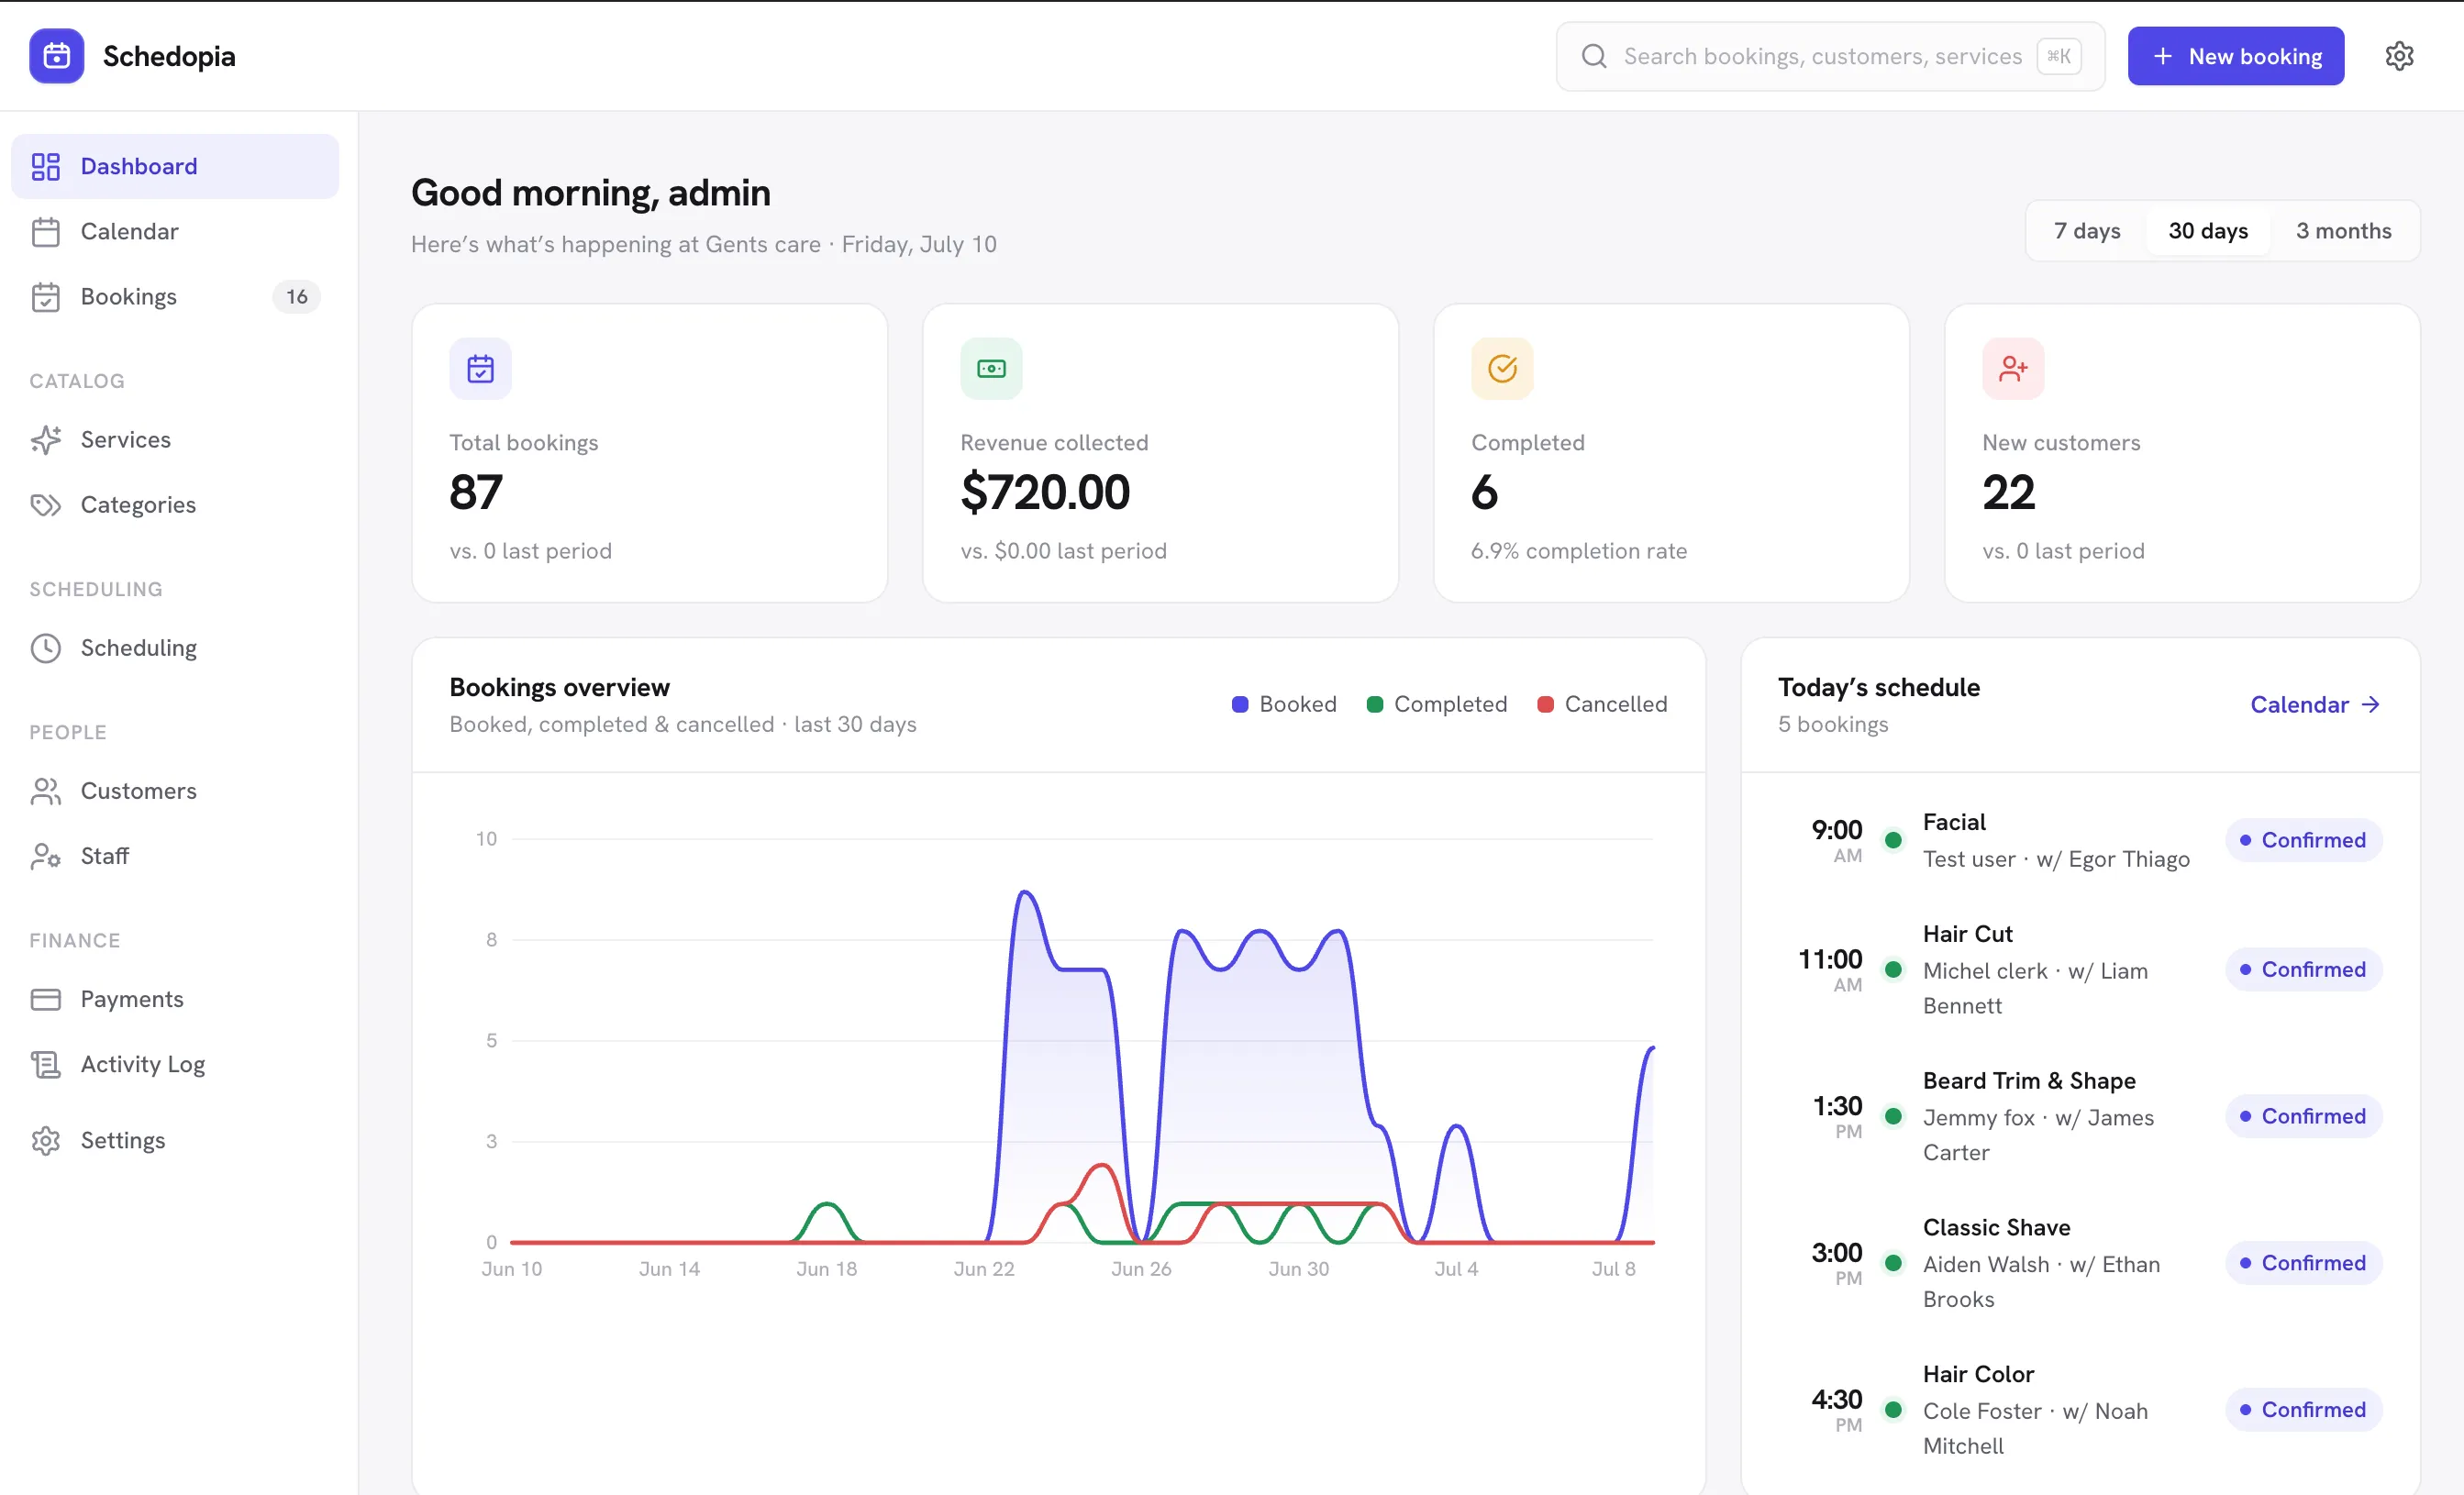
Open Schedopia → Dashboard. The booking is in Today’s schedule if it is for today, and in the totals either way. Open Bookings, find it, and try Mark as paid. That is the whole loop: booked, seen, paid.
What to do next
- Open Design → Booking form and set your primary colour. The live preview shows desktop and mobile side by side, and matching the brand takes two minutes.
- Add days off for the next holiday before you forget.
- If you have several staff, add buffers where rooms or equipment need turnover.
- Subscribe to the calendar feed so bookings appear in the calendar app you already check.
The full detail for each step is in the quick start, and if your business does not fit the pattern, tell us about it and we will suggest a setup.